Rotax 990 servicing
Posted: Sat Dec 07, 2013 9:36 am
People are a little unsure on how to service their rotax engine which is fitted to the falco, futura and the mille.
Now comes the boring stuff.......... I will not accept any responsibility if you use this guide and anything go's wrong with your servicing due to inexperience...
If you are not sure ask for clarification.
"Please note. When removing the plug caps they can be stiff and can break if removed to forcibly."
The bike is a falco for the notes below. The futura and mille may have different seat and tank fittings, with this in mind the instruction may need to be slightly different.
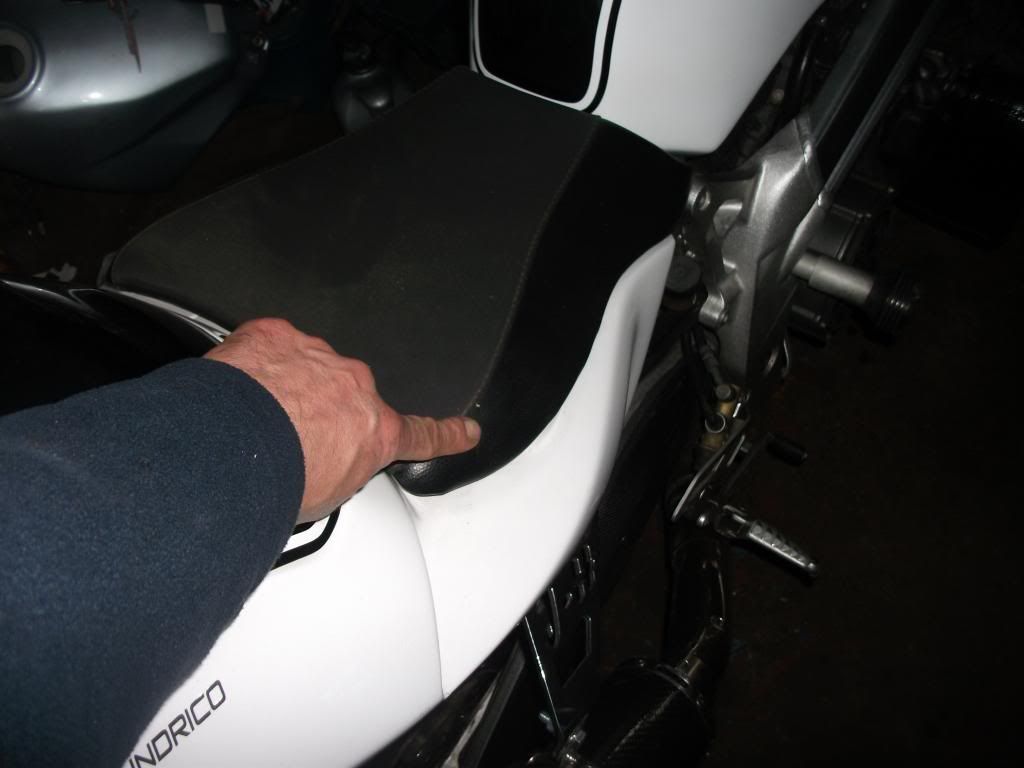
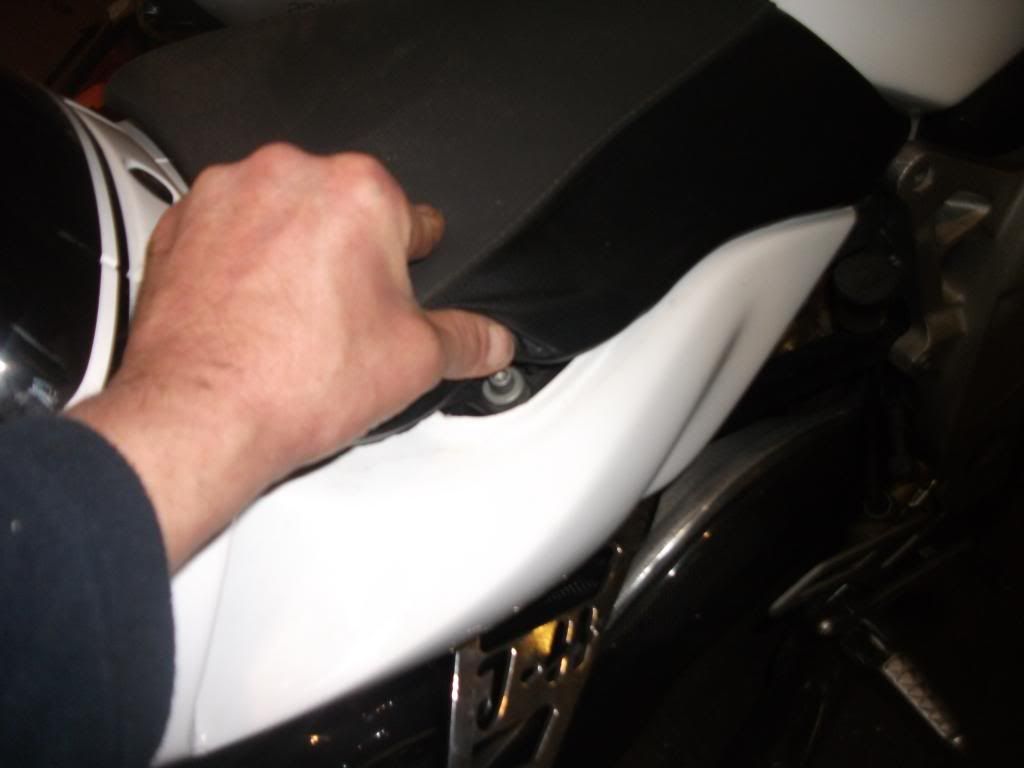
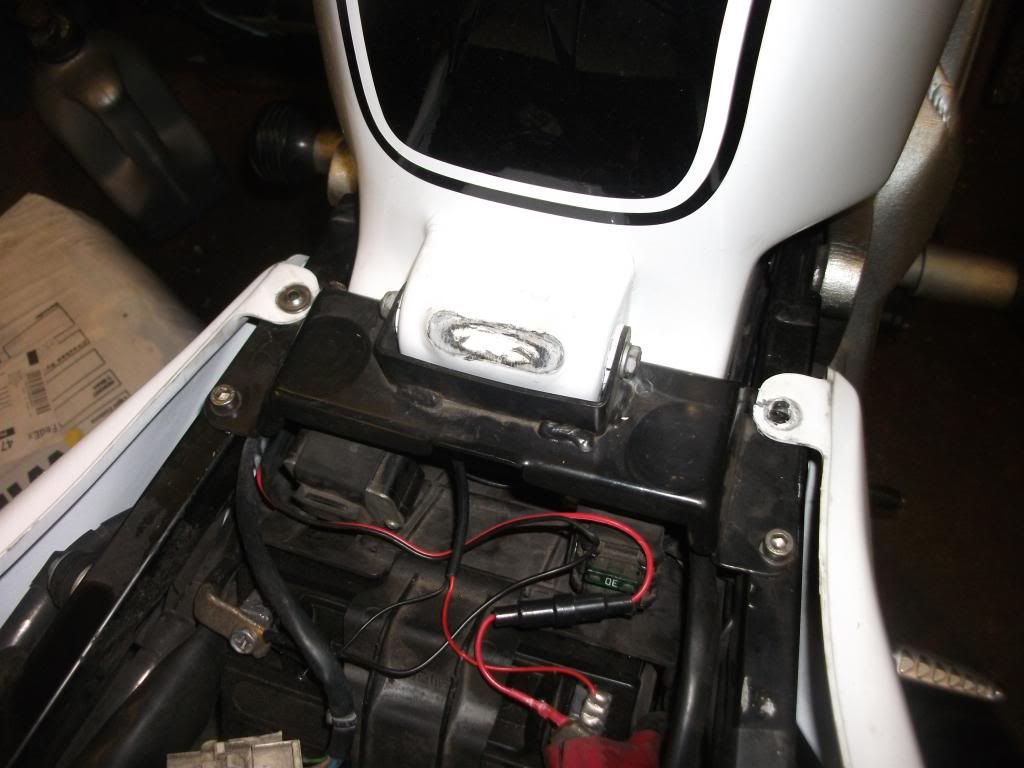
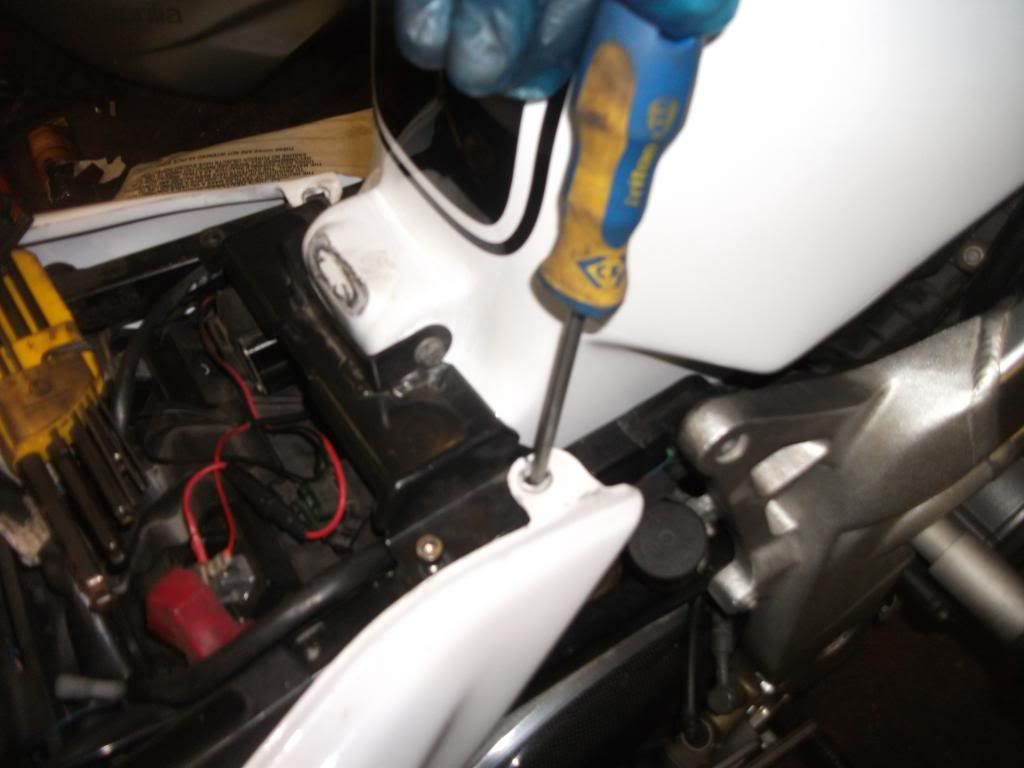
Undo the seat bolts and remove the seat.
The two bolts are located either side of the seat under here
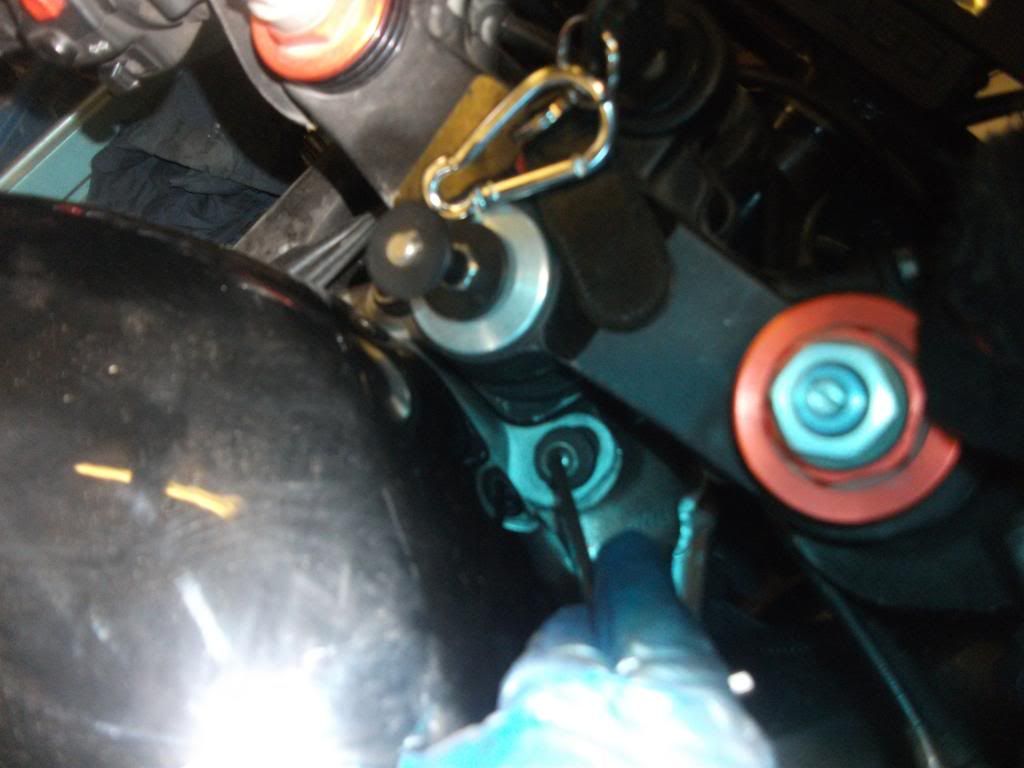
Undo the bolts that hold the tank down at the headstock, and lift the tank back.
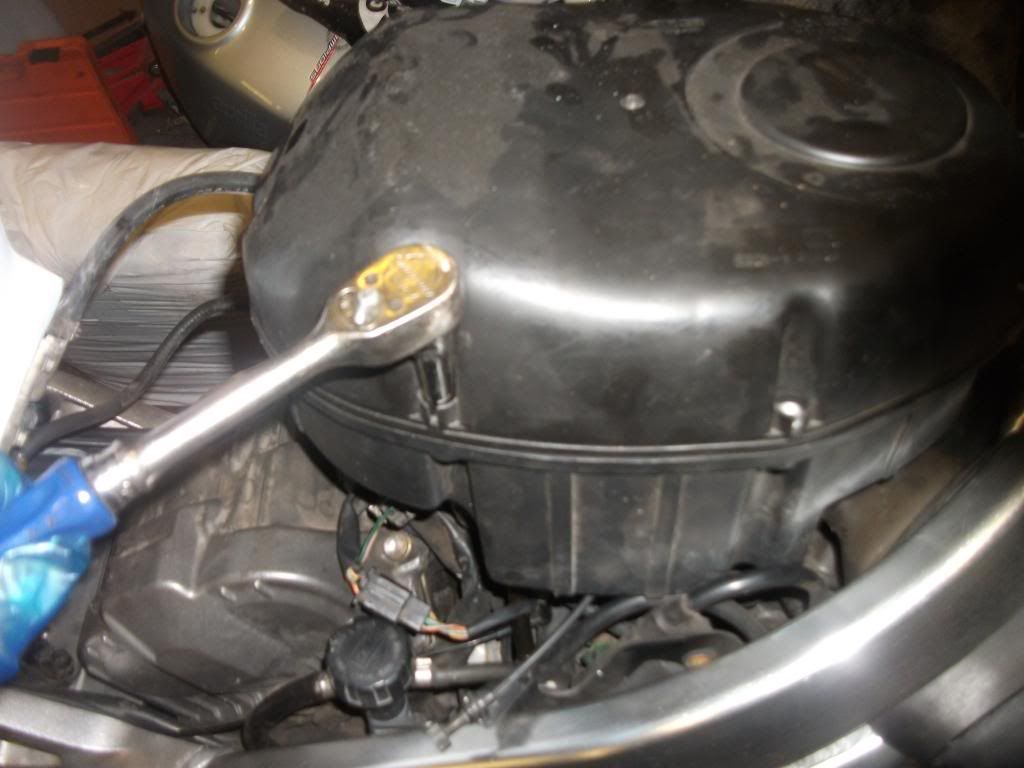
Under the tank you will find the air box. Remove the screws using a 7mm socket.
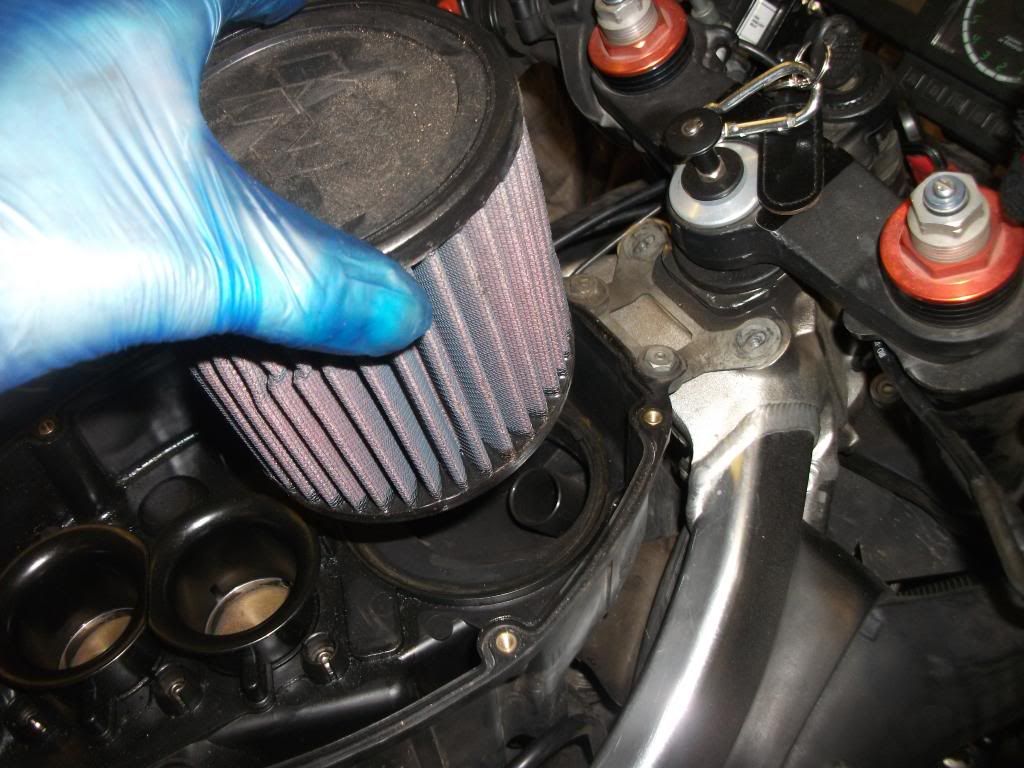
Remove the air filter
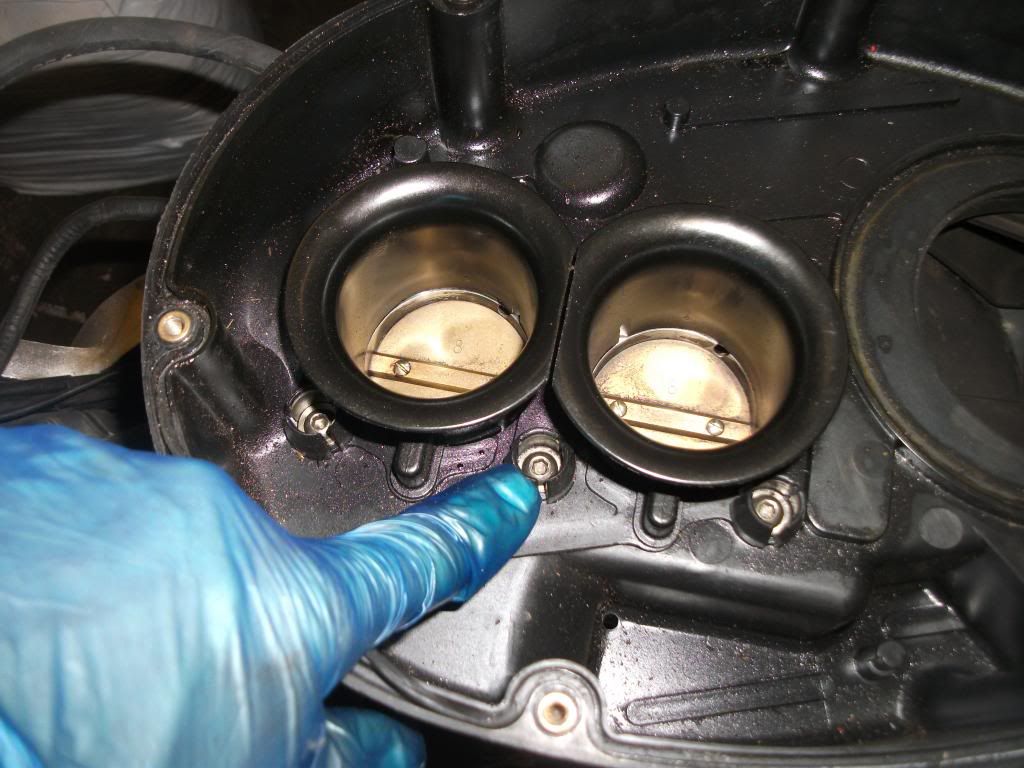
Undo the screws that hold the air box to the throttle bodies. Note these screws sit in a recess and cannot be fully retracted from the air box base.
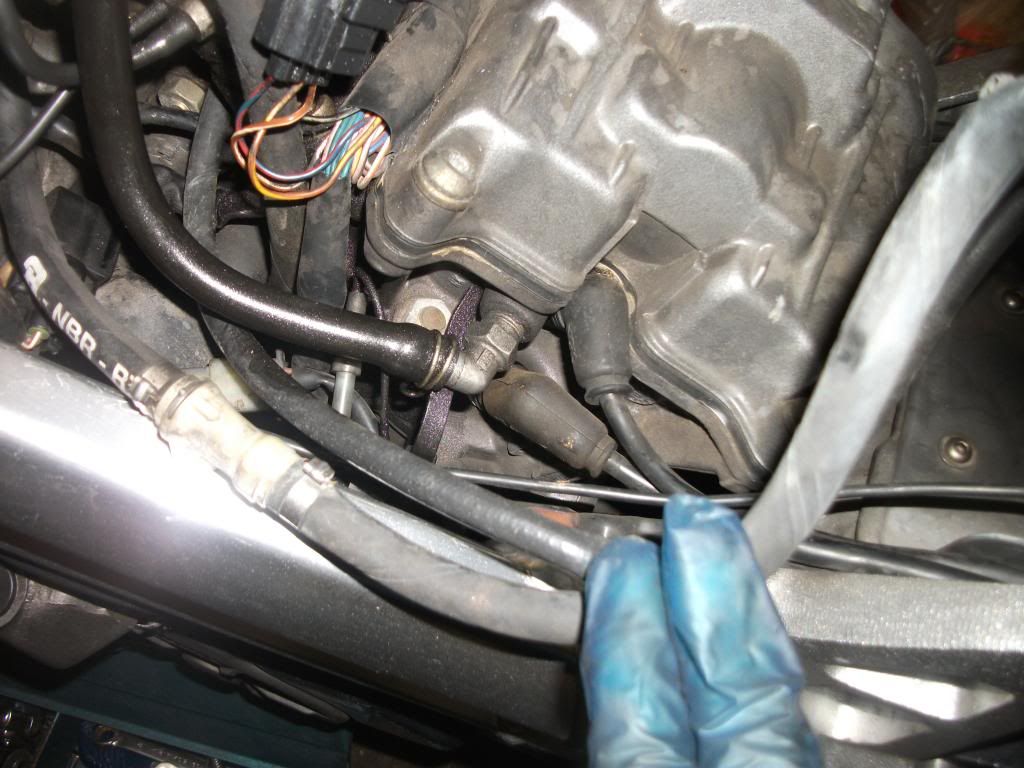
Under the air box is a breather pipe and a sensor, these also need disconnecting/removing before the air box removal.
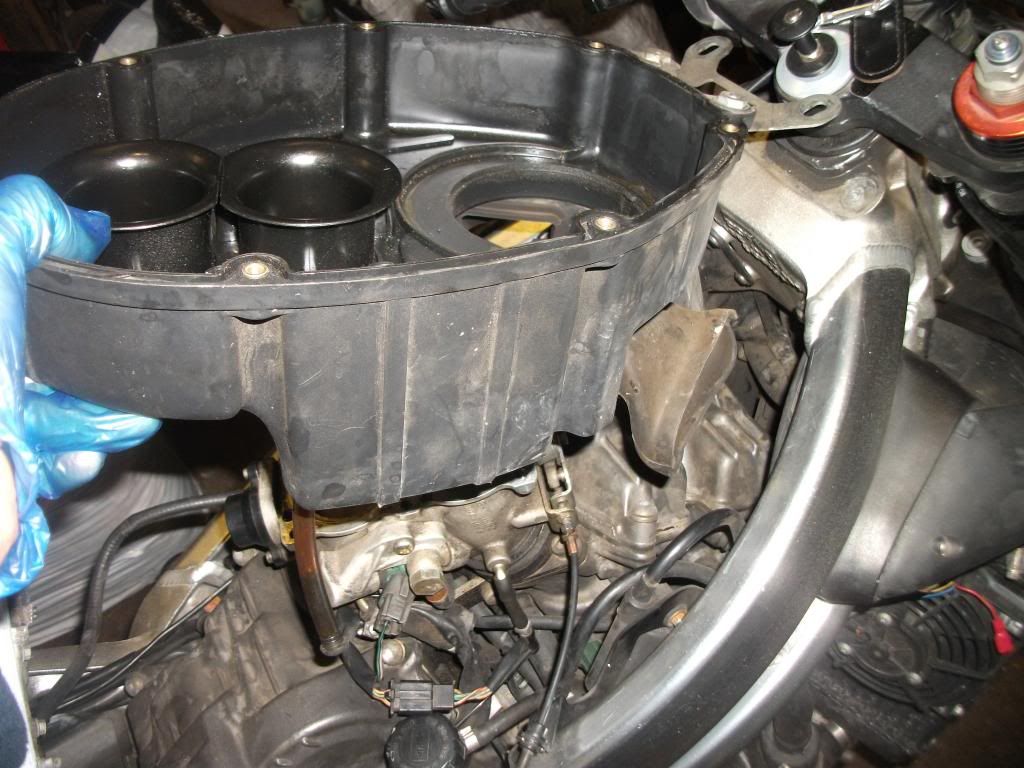
Remove the air box. This will seem a little stiff but it will come out.
Remove the plug leads. These again are sometimes stiff and awkward to remove.
Using an airline blow off and dust from around the plugs.

You can use the tool from the Aprilia tool kit but I prefer a spark plug socket (16mm) and swivel joint with an extension and ratchet.

Change the plugs and tighten to the manual tourque settings.
Repeat on the rear cylinder these are on the opposite side of the motor.
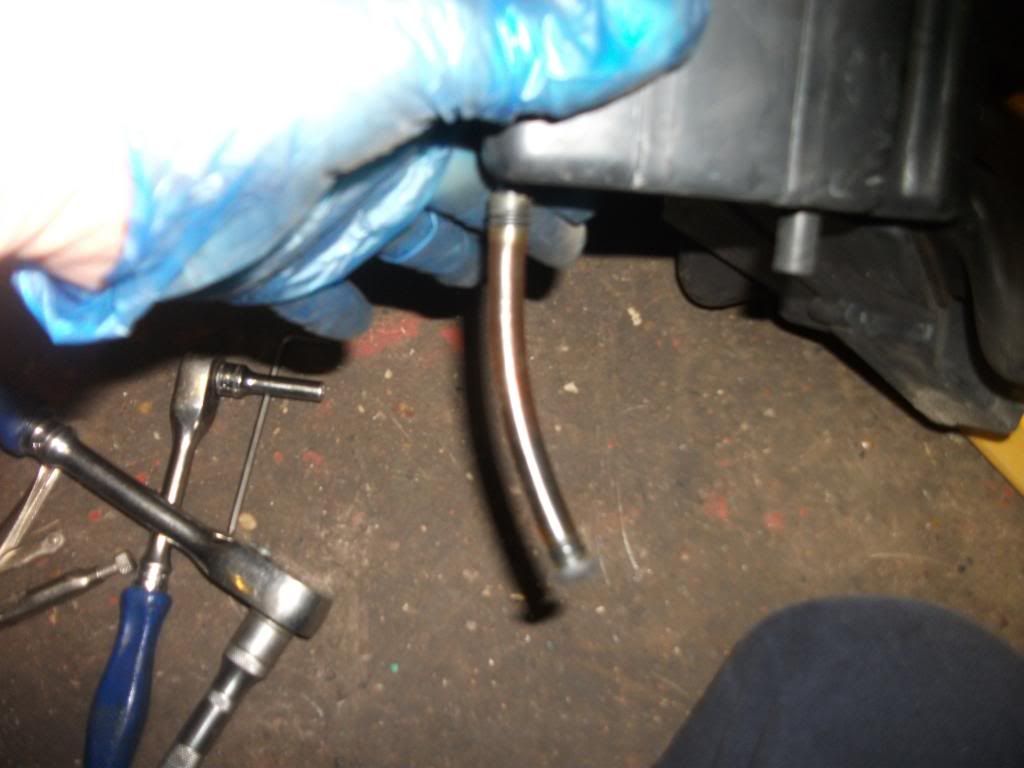
This tube is a catchment tube for oil in the air box. It also acts as a site tube to show the oil in the box. This will need removing and cleaning.
Clean any oil from the air box with a clean rag.

Refit the air box. There is a breather tube you will have had to disconnect when removing the air box this needs reconnecting. This blows warm air into the air box and is a crank case breather pipe.
In most cases due to an expanding tank the bolt holes do not line up with the headstock when the tank is lowered.
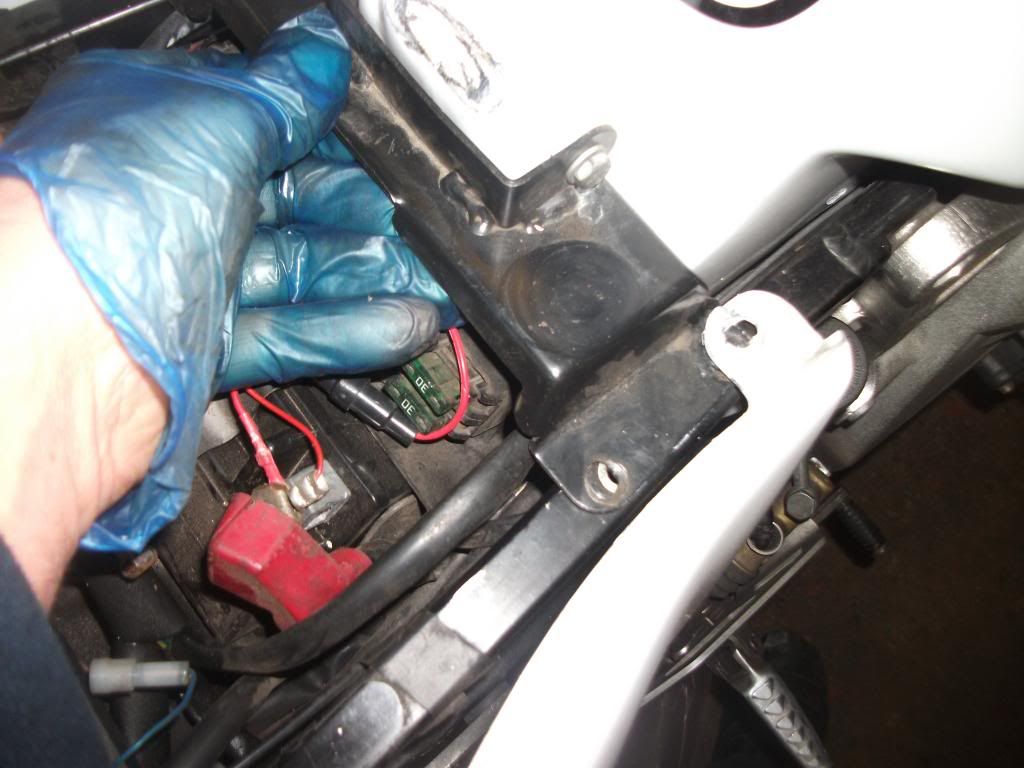
When the tank is lowered remove the four bolts from the rear tank mounting. These also hold the rear plastic panel.
Slide the tank back and fit the tank headstock screws loosely.
Using a screw driver lever the tank forward. Replace all the bolts and tighten them down including the headstock screws.
Replace the seat.
Remove the belly pan if you have one.
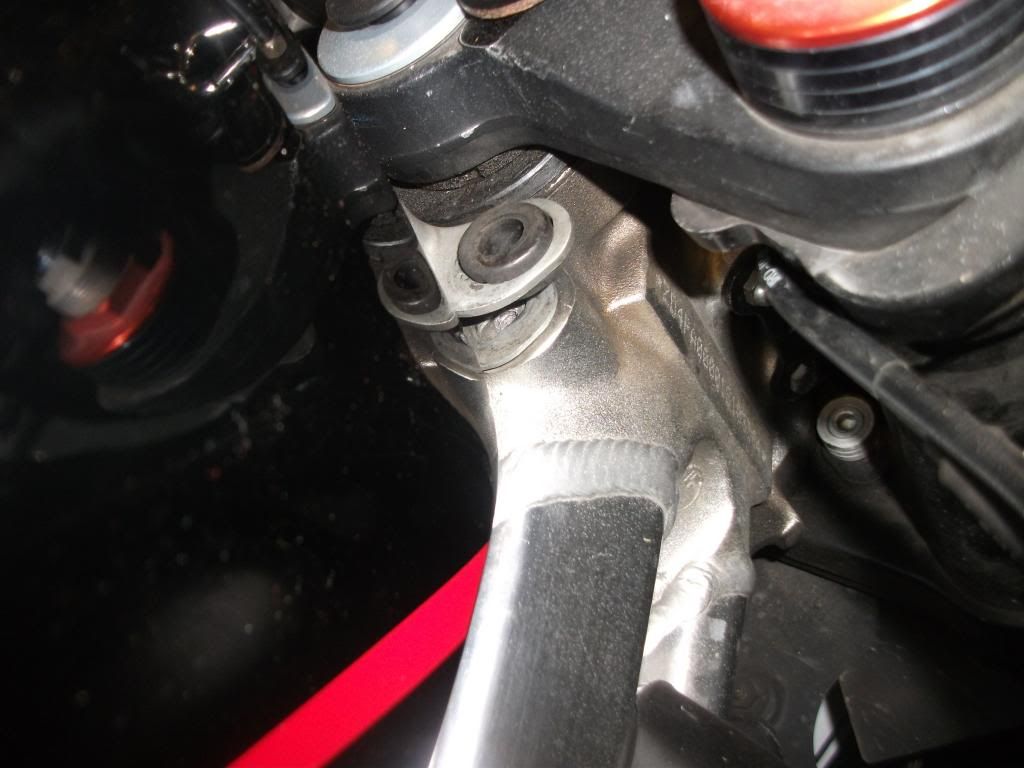
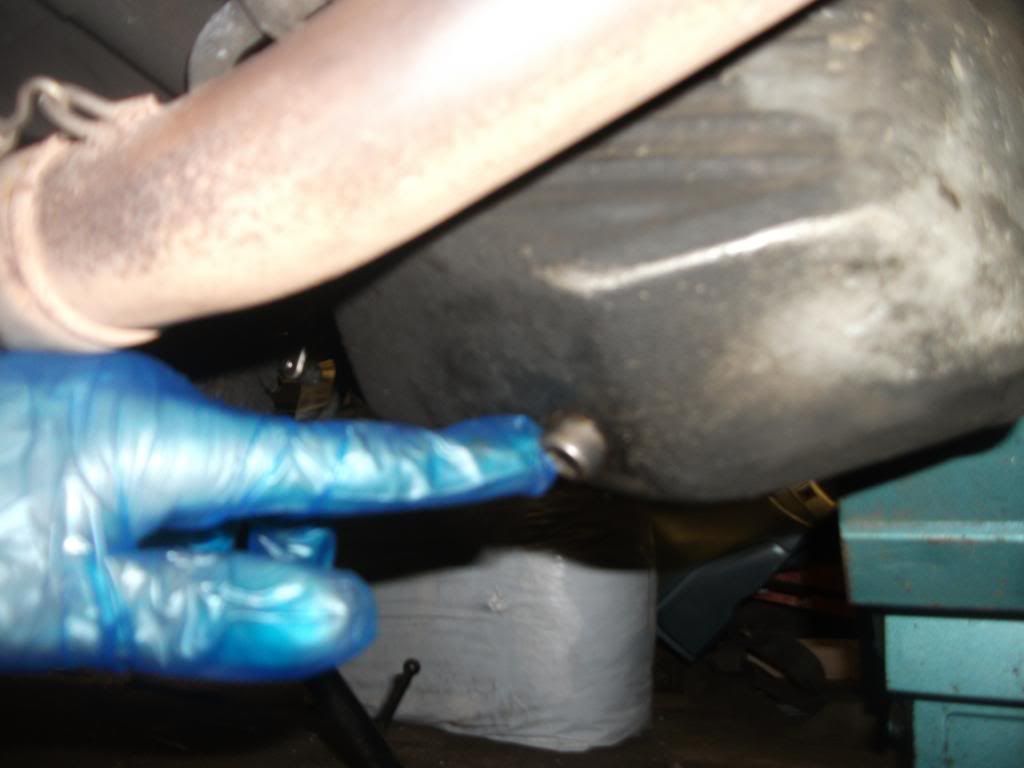
Remove the oil tank bolt with a spanner or allen key depending on fitment. Make sure oil catchment tub is underneath to catch the oil.
When the oil is drained refit the bolt and tighten to the manual torque settings.
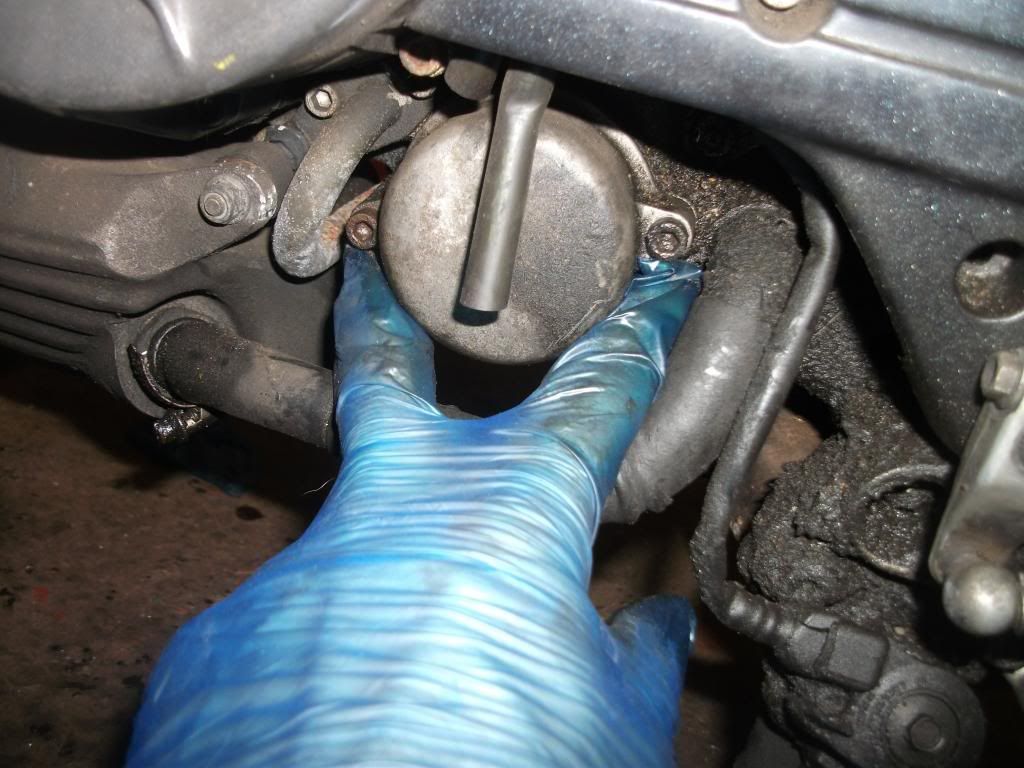
Undo the two allen bolts on the oil filter cover., this is located under the sprocket cover. Replace the old filter for new.
A new "O" ring seal may be required to be fitted to the cover before replacing.
Here is where the new oil go's boys and girls.
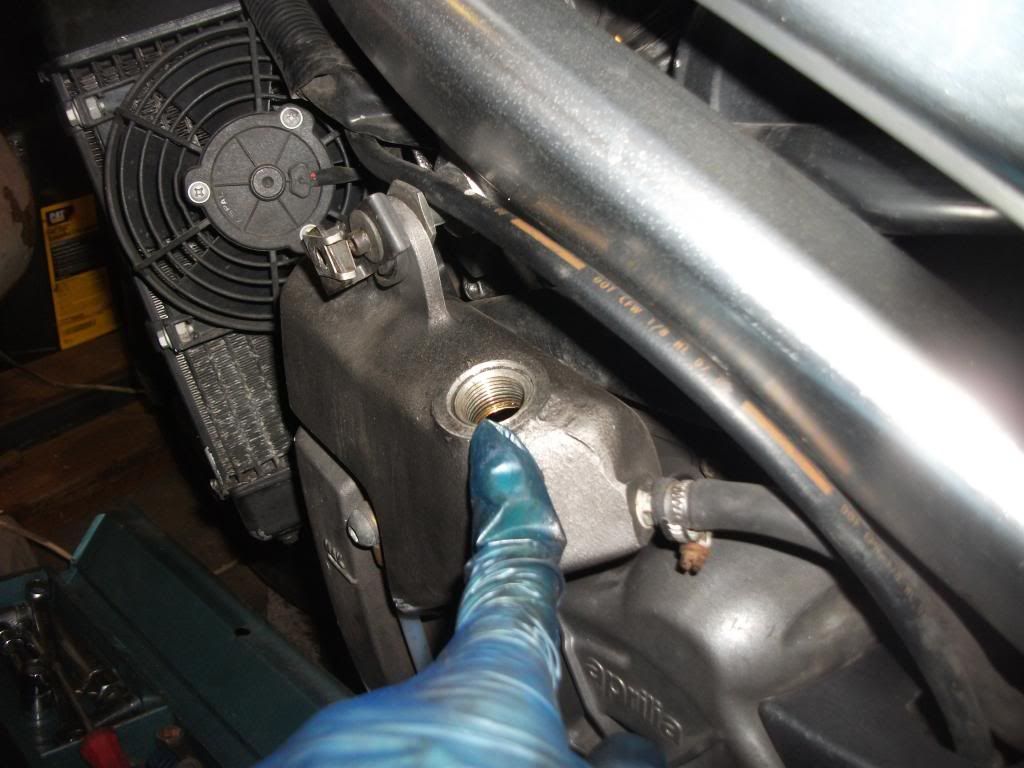
When filling, the oil level needs to be just above half way above the sight glass.
Replace the lid. Run the engine until the cooling fans kick in. Swich off the motor. Leave the bike for sixty seconds. Stand the bike bolt upright and check the level......
Note.... The oil level only needs to be just above half way up the sight glass when the motor is hot.
An explanation to why....... The motor has a dry sump. Over filling the oil tank causes oil to blow up through the breather tube and into the air box.
An oil tank when over full will always appear to be at the maximum level on the glass. Even if you add more oil. Too much oil can blow into the throttle bodies and foul the plugs and cause running problems.
Right folks its here. I have tried to make it as simplistic as possible to the not so mechanically minded folks. If you think there needs to be any more information then please let me know and I will update it.
Now comes the boring stuff.......... I will not accept any responsibility if you use this guide and anything go's wrong with your servicing due to inexperience...
If you are not sure ask for clarification.
"Please note. When removing the plug caps they can be stiff and can break if removed to forcibly."
The bike is a falco for the notes below. The futura and mille may have different seat and tank fittings, with this in mind the instruction may need to be slightly different.
Undo the seat bolts and remove the seat.
The two bolts are located either side of the seat under here


Undo the bolts that hold the tank down at the headstock, and lift the tank back.

Under the tank you will find the air box. Remove the screws using a 7mm socket.

Remove the air filter

Undo the screws that hold the air box to the throttle bodies. Note these screws sit in a recess and cannot be fully retracted from the air box base.
Under the air box is a breather pipe and a sensor, these also need disconnecting/removing before the air box removal.

Remove the air box. This will seem a little stiff but it will come out.

Remove the plug leads. These again are sometimes stiff and awkward to remove.
Using an airline blow off and dust from around the plugs.

You can use the tool from the Aprilia tool kit but I prefer a spark plug socket (16mm) and swivel joint with an extension and ratchet.

Change the plugs and tighten to the manual tourque settings.
Repeat on the rear cylinder these are on the opposite side of the motor.

This tube is a catchment tube for oil in the air box. It also acts as a site tube to show the oil in the box. This will need removing and cleaning.

Clean any oil from the air box with a clean rag.

Refit the air box. There is a breather tube you will have had to disconnect when removing the air box this needs reconnecting. This blows warm air into the air box and is a crank case breather pipe.
In most cases due to an expanding tank the bolt holes do not line up with the headstock when the tank is lowered.

When the tank is lowered remove the four bolts from the rear tank mounting. These also hold the rear plastic panel.

Slide the tank back and fit the tank headstock screws loosely.

Using a screw driver lever the tank forward. Replace all the bolts and tighten them down including the headstock screws.

Replace the seat.
Remove the belly pan if you have one.
Remove the oil tank bolt with a spanner or allen key depending on fitment. Make sure oil catchment tub is underneath to catch the oil.

When the oil is drained refit the bolt and tighten to the manual torque settings.
Undo the two allen bolts on the oil filter cover., this is located under the sprocket cover. Replace the old filter for new.
A new "O" ring seal may be required to be fitted to the cover before replacing.

Here is where the new oil go's boys and girls.

When filling, the oil level needs to be just above half way above the sight glass.
Replace the lid. Run the engine until the cooling fans kick in. Swich off the motor. Leave the bike for sixty seconds. Stand the bike bolt upright and check the level......
Note.... The oil level only needs to be just above half way up the sight glass when the motor is hot.
An explanation to why....... The motor has a dry sump. Over filling the oil tank causes oil to blow up through the breather tube and into the air box.
An oil tank when over full will always appear to be at the maximum level on the glass. Even if you add more oil. Too much oil can blow into the throttle bodies and foul the plugs and cause running problems.
Right folks its here. I have tried to make it as simplistic as possible to the not so mechanically minded folks. If you think there needs to be any more information then please let me know and I will update it.