Page 1 of 2
Made A Start..
Posted: Fri Dec 24, 2010 9:27 pm
by Willopotomas
.. On the winter service n' clean up.
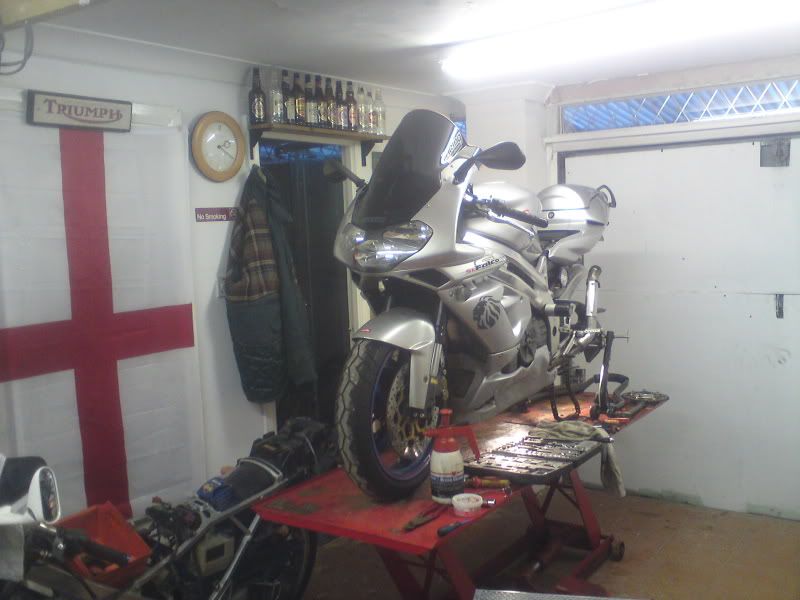
Got my wheel in, so Andy can have his back now! (cheers for the tyre dood!

)

Belly pan off..
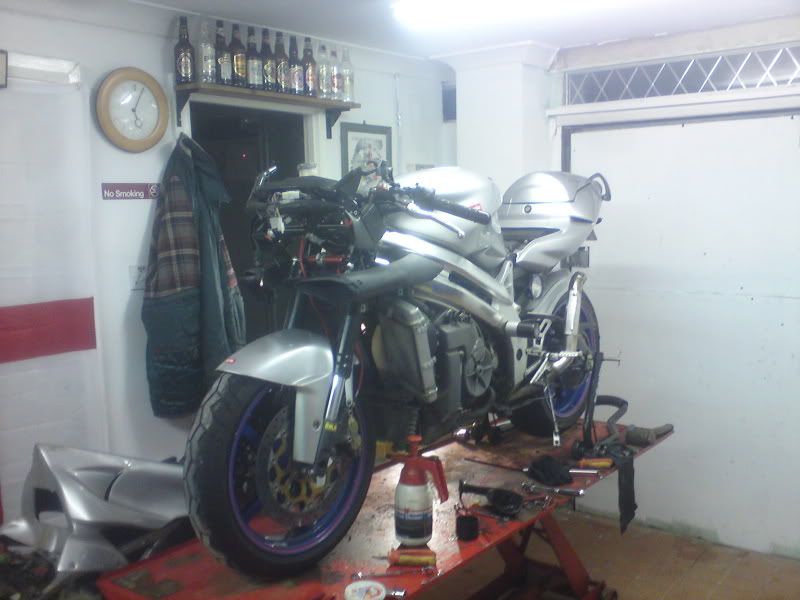
Panels off ready for a clean up.
Progress will be sporadic, so this thread may get lost in the either for a while.. But at least i've made a start..lol..

Posted: Fri Dec 24, 2010 9:50 pm
by Kwackerz
Took one bottle to get the wheel in, yet 4 to get the bellypan off?
Sod being about when you adjust the valves..
'NURSE!! Another barrel of Tanglefoot.. in fact make that two... and a straw...'
Posted: Fri Dec 24, 2010 10:17 pm
by Aladinsaneuk
real nurses do it IV.....
Posted: Fri Dec 24, 2010 10:19 pm
by D-Rider
.... and all the bottles are over the door to the toilet and shower room in Will's luxury workshop complex ....
.... yes - really!
Posted: Fri Dec 24, 2010 10:23 pm
by Willopotomas
Well, we all know the story.. One, sink a few etc..lol. It didn't help that one of my Army type friends popped by while his Mrs was shopping..
Posted: Sun Dec 26, 2010 10:59 am
by rick
Good to see you've made a start! Make sure you make some mistakes so I can learn from you... instead of me making the mistakes

I'm rather impressed that it took you only 10 mins to take the front fairing off
Posted: Sun Dec 26, 2010 1:37 pm
by DavShill
Impressive workshop Will. Must get round to painting the walls in mine next year..... ver tidy too.
Posted: Sun Dec 26, 2010 10:37 pm
by Willopotomas
The workshop is ace. I'll admit i've been a lucky bastard for getting my paws on that place! Was at one time in it's a life a bottom of the garden 'granny flat'. Complete with toilet, bidet, shower room.. Fitted kitchen.. side annex (bedroom) and decent loft space too..lol. Currently has two bike lifts in there with an array of tools and equipment. Along with half decent hi-fi and ample ale storage
Anyway.. I'll be back in there tomorrow to get some more work done. Should with any luck have the HID kit fitted at least!
Posted: Mon Dec 27, 2010 6:15 pm
by Willopotomas


HID kit fitted. Not as much of a PITA as i'd envisaged. I feel sorry for those with the bulky bigger ballast packs.. That slim line unit nuzzles nicely up in there. As for the bulb end, there was a little faffage with securing the bulb in the lamp itself. I had to destroy the original bulb and use part of it as a spacer to secure the HID bulb in place. Also cut the boot to accept the gromet and a slit for the power wires to poke out of.
All in all.. Piece of piss..lol..
Need to do the switch gear mod so both lights are on at the same time, which i'll do another time.
Posted: Mon Dec 27, 2010 6:55 pm
by Samray

Nice bit of Christmas fettling.
Posted: Mon Dec 27, 2010 9:44 pm
by rick
Nice :)
All these posts about HIDs... stop tempting me!
What's next Will?
Posted: Mon Dec 27, 2010 10:06 pm
by Willopotomas
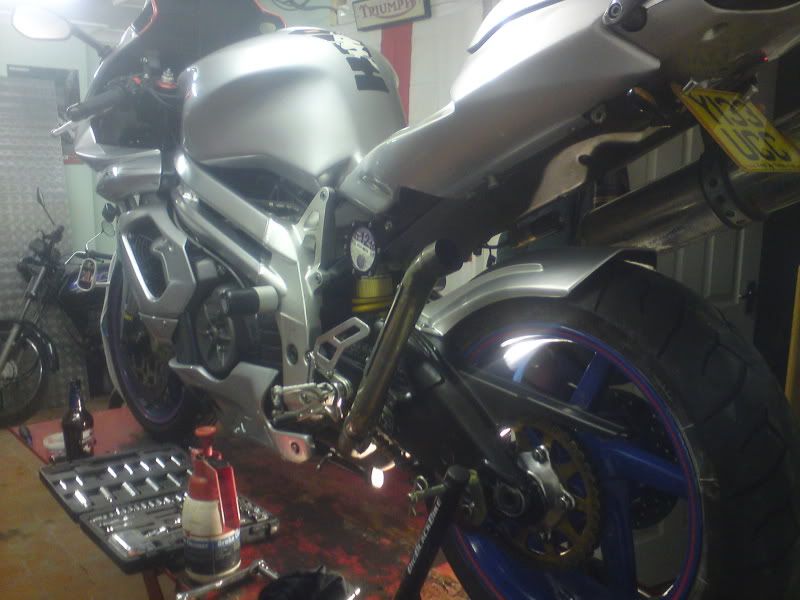
Next.. Erm.. Probably concentrate on the front end. Clean the brakes up (they're mingin..lol.), clean the rotor bobbins and change the fork oil.
Posted: Mon Dec 27, 2010 10:09 pm
by rick
Similar to me then... just done front wheel disc cleanup and bobbins... r u going to drain oil through compression valve? I was going to take the forks out but couldn't be arsed in the end
Word of warning... although imagine you already know this... but undoing the fork caps will damage the anodised finish
Posted: Mon Dec 27, 2010 10:14 pm
by Kwackerz
Unless youre really good..

Posted: Mon Dec 27, 2010 10:19 pm
by rick
True

However I've found that permanent red marker works a treat